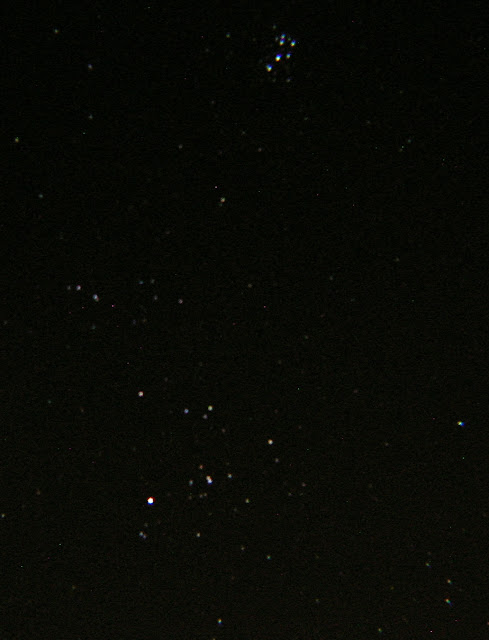
Many people probably bought their first amateur telescope after being inspired by stunningly detailed and colourful pictures from NASA's Hubble Space Telescope of nebulae and galaxies, such as the image of the Andromeda Galaxy above. And those people who peered into their tiny little refractors at Andromeda were probably bitterly disappointed when they found that all they could see in their eyepiece was a small, barely visible fuzzy patch of grey in the sky - if they could see anything at all. Even with relatively large amateur telescopes, it would be impossible for you to visually see in your eyepiece the kind of detail you would see in those NASA pictures - Andromeda would more likely appear as a dim patch, as pictured near the centre of my image below.

The problem is that a telescope's lens can just gather a limited amount of light - especially when the object you're looking at is 2.5 million light-years away. At those kinds of distances, every photon of light counts and using cameras and imaging devices to capture even that tiny amount of light will make you lose even more of those precious photons. One way you can help overcome this problem is to process the digital image you obtain with a graphics processing programme such as PhotoShop to manipulate gamma, brightness, contrast, midtone, highlight and shadow levels, so that you can obtain a more enhanced image, such as the one below.

However, the most effective way to enhance such images is to do what the professional astronomers with building-sized telescopes do to their own images - mesh together multiple images of of the same region of space to allow every photon of light recorded to be used and to provide a brighter, more detailed image. With us amateurs, we would take many pictures of our target (or use the individual frames of a video taken through the telescope with a webcam or CCD imager) and then to produce a 'stack' of the images. This 'image stacking' would then produce a single image that comprises either the sum, or the average, or some value in between of the individually stacked images. Stacking images is a well-established method for increasing the signal-to-noise ratio in a series of similar images. Every photon of true "information" recorded in every frame taken is captured and used in the final image, while random noise is dropped out
For example, multiple exposures of the image above, when 'stacked' with software such as Registax or 'RotAndStack', will produce the image below, where the much more of the Andromeda Galaxy's spiral disk can be seen and even the fainter stars not evident in the previous image shine gloriously through. And with something the size of Andromeda, you don't even need a telescope to produce images such as these - the image below was taken by a modest, ancient Olympus Camedia C-4040Z digital camera (40 quid on e-Bay) without the aid of a telescope.

The first step is to take, say, 48 exposures of the target of, for example, 8-16 seconds (or long enough for a good exposure to light but short enough not to produce star trails or too many 'hot' pixels on the image). Obviously, the more exposures taken, the better - depending upon how much observing time you have and how cold out it is that night. Don't take too long, though - your lenses might mist up or even frost up if exposed to the night air too long. You then run your image stacking program, such as Registax, and load all 48 exposures into the program. You will then need to chose some prominent stars or region as common alignment points (the boxed area in the picture below) so that all 48 images can be properly aligned and stacked together, using these alignment points as the points of references.

The program will then compare the alignment points of each of the 48 images to make sure they are properly rotated and placed in each 'layer' of the final stacked image. Once aligned and optimized, you can proceed to 'stack' each of the 48 images into a single output image.

Once the 'stacked' image has been produced, most stacking programs allow you to do further processing on the image to enhance it even more. Once you're happy with your image, all you need to is then save your picture and your tiny 80mm refractor or humble digital camera has now produced an image that would put a monster telescope 10 times its size to shame!